192.168.0.1 – 192.168.o.1 is a default IP address used by routers such as TP-Link, D-Link, NETGEAR to login admin panel settings at http://192.168.0.1.
By accessing the web management page you will be able to make changes to Wireless Settings (Network Name SSID, Change WiFi Password), Create Guest Networks, MAC Filtering, Access/Parental Control, and various other settings.
How to login to 192.168.0.1?
To log in to the 192.168.0.1 admin panel, follow these steps:
- Open the web browser that you use to access the internet.
- Click http://192.168.0.1 or type 192.168.0.1 and press Enter.
- A login page or popup will appear.
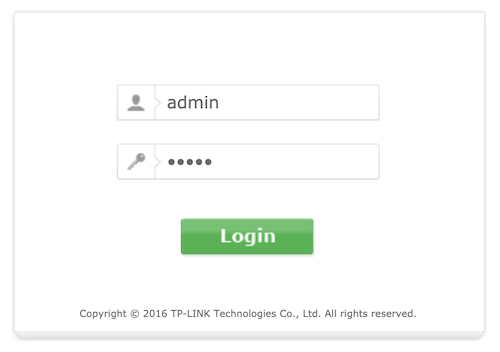
- Enter “admin” for username and “admin” for password. (List of default router passwords)
- You will now be logged in to the admin panel.
How to change router’s WiFi password or SSID?
Changing the default router password is the first step in securing your WiFi network from intruders. Although the process of changing the router password varies from router brands, the overall concept is the same so you can take the guidance from the following steps to get the basic idea.
Change WiFi Password:
- Open a web browser and enter the IP address of your router such as 192.168.0.1 or 192.168.1.1.
- Login to the web-based admin interface using your username and password. Most routers have a default username of admin and password of admin/password.
- Locate Wireless Settings and navigate to the Wireless Security page.
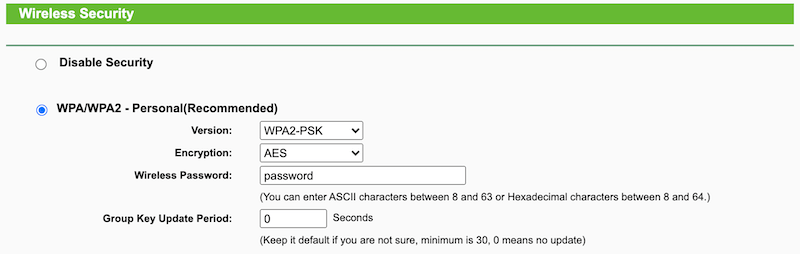
- If not already, turn on the “WPA/WPA2” security option, and in the Password field enter the password of your choice.
- Now click Save to apply the changes.
Once the changes are applied your router will reboot automatically and your WiFi will get disconnected. Use the new WiFi password as specified to re-connect to the network.
Change Network Name (SSID):
- Open your browser and type in http://192.168.0.1 in the address bar.
- Enter the username and password when prompted. For most routers, the default username is admin and the password is admin / password.
- Select Wireless and click the Wireless Settings.
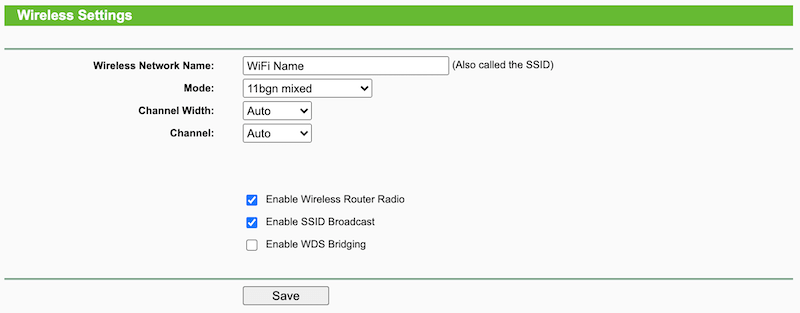
- In the Wireless Network Name (SSID) enter as preferred.
- Click the Save button to save the settings.
Unable to access 192.168.0.1
If you are unable to access 192.168.0.1 or the browser gives an error then it may be due to one of the following reasons: